What are the densitites and boiling points of the two liquid components of this distillation? What do you expect to happen to the observed densitites and boiling points of the fractions you collect?
What are the densitites and boiling points of the two liquid components of this distillation? What do you expect to happen to the observed densitites and boiling points of the fractions you collect?
Macroscale and Microscale Organic Experiments
7th Edition
ISBN:9781305577190
Author:Kenneth L. Williamson, Katherine M. Masters
Publisher:Kenneth L. Williamson, Katherine M. Masters
Chapter7: Extraction
Section: Chapter Questions
Problem 1Q

Related questions
Question
What are the densitites and boiling points of the two liquid components of this distillation?
What do you expect to happen to the observed densitites and boiling points of the fractions you collect?
Would you expect unfermented wort to have a higher, lower, or same density as the fermented? Why?
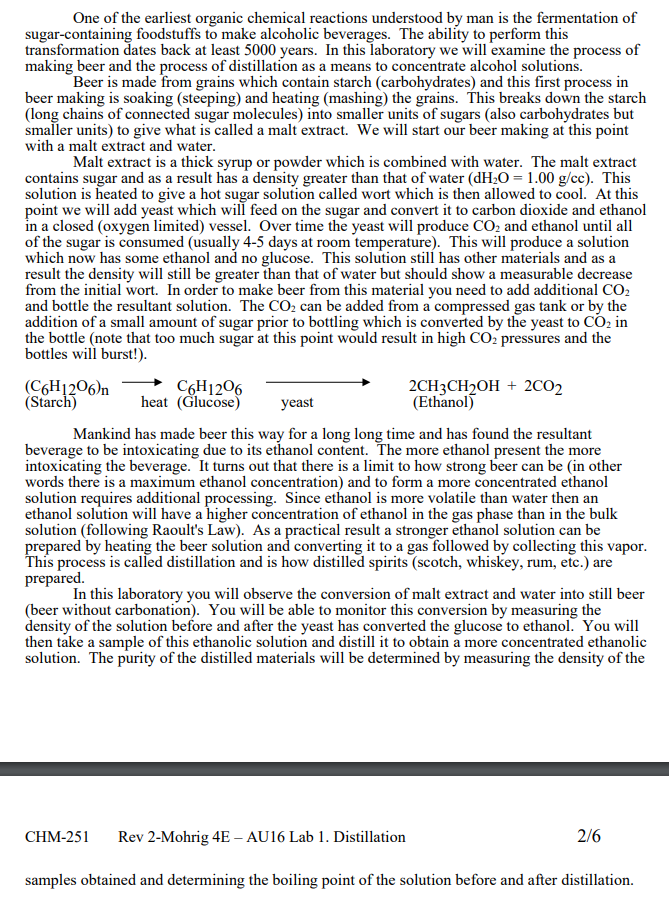
Transcribed Image Text:One of the earliest organic chemical reactions understood by man is the fermentation of
sugar-containing foodstuffs to make alcoholic beverages. The ability to perform this
transformation dates back at least 5000 years. In this laboratory we will examine the process of
making beer and the process of distillation as a means to concentrate alcohol solutions.
Beer is made from grains which contain starch (carbohydrates) and this first process in
beer making is soaking (steeping) and heating (mashing) the grains. This breaks down the starch
(long chains of connected sugar molecules) into smaller units of sugars (also carbohydrates but
smaller units) to give what is called a malt extract. We will start our beer making at this point
with a malt extract and water.
Malt extract is a thick syrup or powder which is combined with water. The malt extract
contains sugar and as a result has a density greater than that of water (dH;O = 1.00 g/cc). This
solution is heated to give a hot sugar solution called wort which is then allowed to cool. At this
point we will add yeast which will feed on the sugar and convert it to carbon dioxide and ethanol
in a closed (oxygen limited) vessel. Over time the yeast will produce CO2 and ethanol until all
of the sugar is consumed (usually 4-5 days at room temperature). This will produce a solution
which now has some ethanol and no glucose. This solution still has other materials and as a
result the density will still be greater than that of water but should show a measurable decrease
from the initial wort. In order to make beer from this material you need to add additional CO2
and bottle the resultant solution. The CO2 can be added from a compressed gas tank or by the
addition of a small amount of sugar prior to bottling which is converted by the yeast to CO2 in
the bottle (note that too much sugar at this point would result in high CO2 pressures and the
bottles will burst!).
(C6H1206)n
(Starch)
C6H1206
heat (Glucose)
2CH3CH2OH + 2CO2
(Ethanol)
yeast
Mankind has made beer this way for a long long time and has found the resultant
beverage to be intoxicating due to its ethanol content. The more ethanol present the more
intoxicating the beverage. It turns out that there is a limit to how strong beer can be (in other
words there is a maximum ethanol concentration) and to form a more concentrated ethanol
solution requires additional processing. Since ethanol is more volatile than water then an
ethanol solution will have a higher concentration of ethanol in the gas phase than in the bulk
solution (following Raoult's Law). As a practical result a stronger ethanol solution can be
prepared by heating the beer solution and converting it to a gas followed by collecting this vapor.
This process is called distillation and is how distilled spirits (scotch, whiskey, rum, etc.) are
prepared.
In this laboratory you will observe the conversion of malt extract and water into still beer
(beer without carbonation). You will be able to monitor this conversion by measuring the
density of the solution before and after the yeast has converted the glucose to ethanol. You will
then take a sample of this ethanolic solution and distill it to obtain a more concentrated ethanolic
solution. The purity of the distilled materials will be determined by measuring the density of the
CHM-251
Rev 2-Mohrig 4E – AU16 Lab 1. Distillation
2/6
samples obtained and determining the boiling point of the solution before and after distillation.
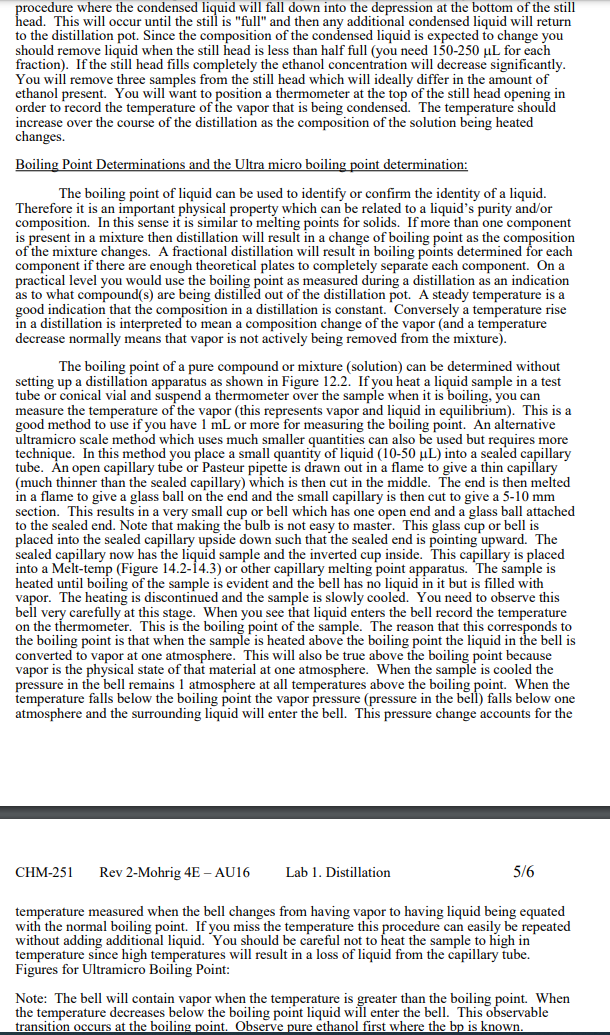
Transcribed Image Text:procedure where the condensed liquid will fall down into the depression at the bottom of the still
head. This will occur until the still is "full" and then any additional condensed liquid will return
to the distillation pot. Since the composition of the condensed liquid is expected to change you
should remove liquid when the still head is less than half full (you need 150-250 uL for each
fraction). If the still head fills completely the ethanol concentration will decrease significantly.
You will remove three samples from the still head which will ideally differ in the amount of
ethanol present. You will want to position a thermometer at the top of the still head opening in
order to record the temperature of the vapor that is being condensed. The temperature should
increase over the course of the distillation as the composition of the solution being heated
changes.
Boiling Point Determinations and the Ultra micro boiling point determination:
The boiling point of liquid can be used to identify or confirm the identity of a liquid.
Therefore it is an important physical property which can be related to a liquid's purity and/or
composition. In this sense it is similar to melting points for solids. If more than one component
is present in a mixture then distillation will result in a change of boiling point as the composition
of the mixture changes. A fractional distillation will result in boiling points determined for each
component if there are enough theoretical plates to completely separate each component. Ona
practical level you would use the boiling point as measured during a distillation as an indication
as to what compound(s) are being distilled out of the distillation pot. A steady temperature is a
good indication that the composition in a distillation is constant. Conversely a temperature rise
in a distillation is interpreted to mean a composition change of the vapor (and a temperature
decrease normally means that vapor is not actively being removed from the mixture).
The boiling point of a pure compound or mixture (solution) can be determined without
setting up a distillation apparatus as shown in Figure 12.2. If you heat a liquid sample in a test
tube or conical vial and suspend a thermometer over the sample when it is boiling, you can
measure the temperature of the vapor (this represents vapor and liquid in equilibrium). This is a
good method to use if you have 1 mL or more for measuring the boiling point. An alternative
ultramicro scale method which uses much smaller quantities can also be used but requires more
technique. In this method you place a small quantity of liquid (10-50 µL) into a sealed capillary
tube. Ản open capillary tube or Pasteur pipette is drawn out in a flame to give a thin capilllary
(much thinner than the sealed capillary) which is then cut in the middle. The end is then melted
in a flame to give a glass ball on the end and the small capillary is then cut to give a 5-10 mm
section. This results in a very small cup or bell which has one open end and a glass ball attached
to the sealed end. Note that making the bulb is not easy to master. This glass cup or bell is
placed into the sealed capillary upside down such that the sealed end is pointing upward. The
sealed capillary now has the liquid sample and the inverted cup inside. This capillary is placed
into a Melt-temp (Figure 14.2-14.3) or other capillary melting point apparatus. 'The sample is
heated until boiling of the sample is evident and the bell has no liquid in it but is filled with
vapor. The heating is discontinued and the sample is slowly cooled. You need to observe this
bell very carefully at this stage. When you see that liquid enters the bell record the temperature
on the thermometer. This is the boiling point of the sample. The reason that this corresponds to
the boiling point is that when the sample is heated above the boiling point the liquid in the bell is
converted to vapor at one atmosphere. This will also be true above the boiling point because
vapor is the physical state of that material at one atmosphere. When the sample is cooled the
pressure in the bell remains 1 atmosphere at all temperatures above the boiling point. When the
temperature falls below the boiling point the vapor pressure (pressure in the bell) falls below one
atmosphere and the surrounding liquid will enter the bell. This pressure change accounts for the
CHM-251
Rev 2-Mohrig 4E – AU16
Lab 1. Distillation
5/6
temperature measured when the bell changes from having vapor to having liquid being equated
with the normal boiling point. If you miss the temperature this procedure can easily be repeated
without adding additional liquid. You should be careful not to heat the sample to high in
temperature since high temperatures will result in a loss of liquid from the capillary tube.
Figures for Ultramicro Boiling Point:
Note: The bell will contain vapor when the temperature is greater than the boiling point. When
the temperature decreases below the boiling point liquid will enter the bell. This observable
transition occurs at the boiling point. Observe pure ethanol first where the bp is known.
Expert Solution
This question has been solved!
Explore an expertly crafted, step-by-step solution for a thorough understanding of key concepts.

This is a popular solution!

Trending now
This is a popular solution!

Step by step
Solved in 3 steps with 2 images

Knowledge Booster


Learn more about
Need a deep-dive on the concept behind this application? Look no further. Learn more about this topic, chemistry and related others by exploring similar questions and additional content below.Recommended textbooks for you
Macroscale and Microscale Organic Experiments
Chemistry
ISBN:
9781305577190
Author:
Kenneth L. Williamson, Katherine M. Masters
Publisher:
Brooks Cole
EBK A SMALL SCALE APPROACH TO ORGANIC L
Chemistry
ISBN:
9781305446021
Author:
Lampman
Publisher:
CENGAGE LEARNING - CONSIGNMENT
Macroscale and Microscale Organic Experiments
Chemistry
ISBN:
9781305577190
Author:
Kenneth L. Williamson, Katherine M. Masters
Publisher:
Brooks Cole
EBK A SMALL SCALE APPROACH TO ORGANIC L
Chemistry
ISBN:
9781305446021
Author:
Lampman
Publisher:
CENGAGE LEARNING - CONSIGNMENT